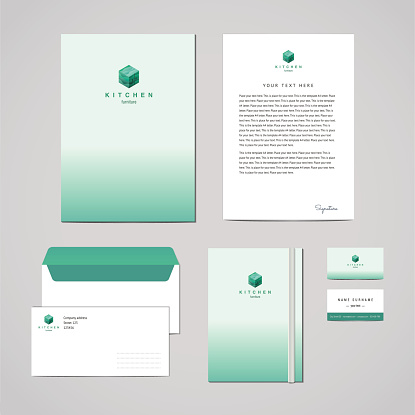
Many companies just starting out are looking for ways to save money on their start up costs. Every business owner wants to appear as a serious player and be taken seriously.

One of the ways you can do this is with a professional looking letterhead on your correspondence and other form of communications. What you might not know is that you can achieve this yourself simply by using Microsoft Word. It helps if you have a logo as that makes the process easier so you might want to hire someone to design one for you.
Creating Your Own Personalized Letterhead
The first thing to understand is how a “Header” works. You will want to start with a blank page and embed your logo and insert company identifiers into the header.
Setting Up Your Header
In the top of your blank Word doc you can either: Double Click at the top of the page, or Select the “Insert” tab and select “Header>Blank
You must first decide on how much space from the top you will need to include the relevant company information and logo. The default amount of space before you select what you need is ½ inch. Be careful about going too close to either edge of the page as your printer may not cover all of the info.
If you decide to make changes, all you have to do is double-click the header section once again, and then restructure what you have included.
Another alternative is to insert a table inside the header which allows you to precisely configure your company information. You can also opt for right tabs or columns instead.
Setting the Letterhead to the Side
Alternatively you can also opt to put your letterhead on either the right or left side of the page.
You can do this by embedding a text box inside the header, and then specify both the vertical and horizontal size of the space you need. You can also embed your logo.
Embedding your Logo
Logos might require a little more effort because they might be compressed. Only in Word 2010 can you instruct Word to not compress the image. For other versions of Word, you need to go the “File” tab and select “Options” and then click on “Advanced.”
Find the section titled “Image Size and Quality” and check the box which reads “Do not Compress Images in File”. Also, you need to ensure that the area which reads as “Set Default Target Out To:” and set as the maximum DPI in the drop-down.
And that’s it! You have a totally looking professional letterhead!
Need your company to look professional! Our {company} can help you provide you with innovative tools to improve the look of your site and other vital documents so phone us right now at {phone} or email us at: {email} as we can custom design what your business needs to succeed!
